How to Field Dress a Deer: Step-by-Step Guide
Affiliate Disclosure: This article contains affiliate links. If you purchase through these links, we may earn a commission at no extra cost to you. This helps support our site and allows us to continue creating in-depth gear reviews. Our recommendations are based on independent testing and research.
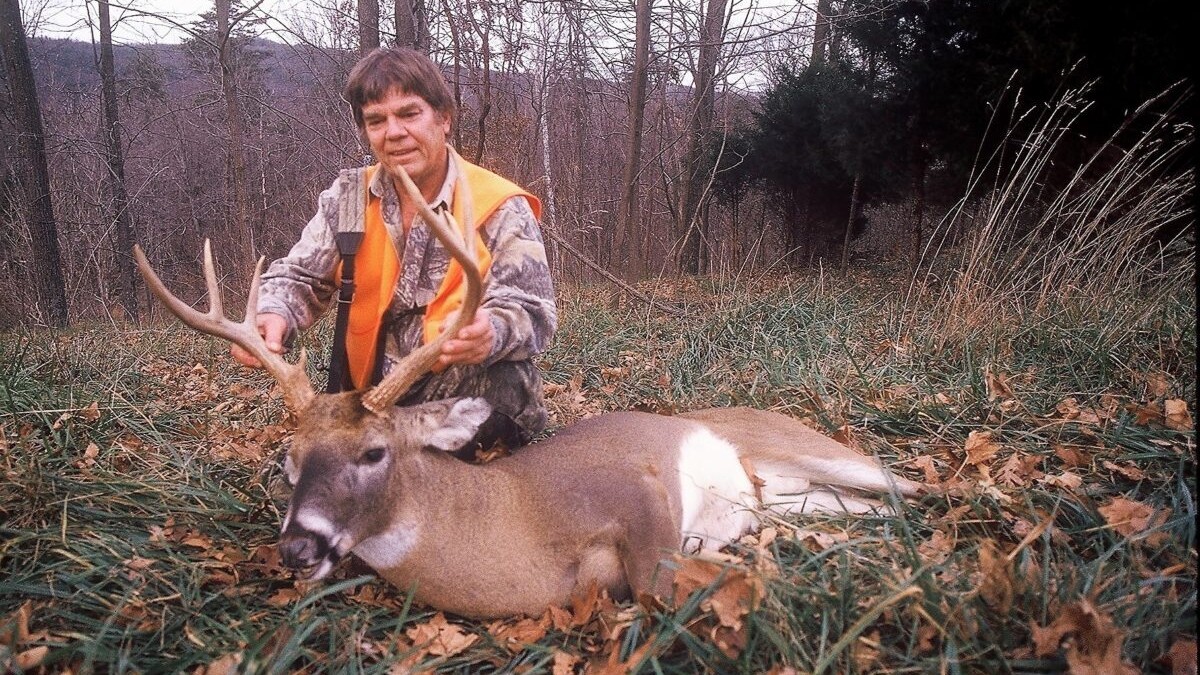
You've made a clean shot and recovered your deer. The clock is now ticking. How quickly and properly you field dress that animal directly affects the quality of the meat on your table. I've field dressed hundreds of deer over 52 years of hunting, and I can tell you that this single skill separates hunters who enjoy excellent venison from those who complain that deer meat tastes "gamey."
Gamey-tasting venison is almost always the result of poor field care—delayed gutting, contamination from digestive contents, or inadequate cooling. Handle the field dressing correctly and you'll produce meat that rivals the finest grass-fed beef.
This guide walks you through the complete field dressing process, from the tools you need to the final steps of cooling and transport.
Before You Start: Essential Tools
Having the right tools makes field dressing faster, cleaner, and safer. Pack these in your hunting kit before every hunt:
- Sharp fixed-blade knife: A 3.5-4 inch drop-point blade with a full tang handles 95% of field dressing tasks. I prefer a Benchmade Saddle Mountain Skinner or Buck 119, but any quality fixed blade with a sharp edge works. Folding knives work but are harder to clean and can close on your fingers when slippery.
- Gutting knife or gut hook: A blade with a gut hook makes opening the abdominal cavity much easier without risking puncturing intestines. Many hunting knives include this feature.
- Latex or nitrile gloves: Two to three pairs. Gloves keep your hands clean, provide better grip on slippery organs, and protect against potential disease transmission (CWD, brucellosis).
- Game bags: Breathable cotton or synthetic mesh bags protect meat from flies and dirt during transport. Cheesecloth works in a pinch but isn't as durable.
- Paracord or rope: 15-20 feet for hanging the carcass or propping it open to cool. Also useful for dragging.
- Headlamp: Many recoveries happen after dark. A quality headlamp with a red light mode lets you work without attracting insects.
- Water and paper towels: For rinsing the body cavity and cleaning up afterward. A one-liter bottle dedicated to this purpose is adequate.
- Zip-lock bags: For the heart and liver if you plan to keep them. Organ meat from a fresh deer is exceptional eating.
Step 1: Position the Deer
Place the deer on its back with the belly facing up. If you're on a slope, position the deer with its head uphill so gravity helps fluids drain away from the chest cavity during the process. Spread the hind legs apart to give yourself working room. If possible, prop the deer against a log, tree, or your pack to keep it stable on its back.
If the deer is a buck and you plan to mount the head, don't cut any further forward than the base of the ribcage. The taxidermist needs the full cape from the front shoulders forward.
Step 2: Make the Initial Cut
Put on your gloves. Starting at the base of the sternum (breastbone), pinch the skin and fur upward, away from the underlying organs. Make a shallow cut through just the skin and abdominal wall muscle. You want to open the skin without cutting into the stomach or intestines beneath.
This initial cut is the most critical. Go slow. The abdominal wall is thin—sometimes less than half an inch—and the stomach and intestines are immediately below. If you puncture them, gastric contents or fecal matter will contaminate the body cavity and the meat.
The Two-Finger Technique
Insert your index and middle finger into the initial cut, forming a V shape with the knife blade between them, cutting edge facing up. Your fingers push the intestines down and away from the blade as you draw the knife toward the pelvis. This technique provides a physical barrier between your blade and the organs, nearly eliminating the risk of puncture.
If your knife has a gut hook, use it for this step. The hook catches the abdominal wall from inside and slices upward as you pull toward the pelvis, keeping the blade away from organs entirely.
Step 3: Open the Abdominal Cavity
Continue the cut from the sternum down to the pelvis, opening the entire abdominal cavity. When you reach the pelvic area, you'll encounter the urethra and, on does, the reproductive tract. Cut around these structures carefully.
At the pelvis, you have a decision: split the pelvic bone or work around it. Splitting the pelvis makes removing the lower intestine and bladder much easier but requires either a saw, heavy knife, or hatchet. On young deer, the pelvic bone is cartilaginous and can be split with a sturdy knife. On mature bucks, you'll need a bone saw.
If you don't split the pelvis, you can still complete the field dressing by carefully cutting around the anus and pulling the lower intestine through from inside the body cavity. This works fine but is more awkward.
Step 4: Free the Diaphragm
The diaphragm is the thin muscle wall separating the chest cavity from the abdominal cavity. It attaches to the interior of the ribcage in a continuous band. Using your knife, cut the diaphragm free from the rib walls on both sides, working as close to the ribs as possible. This connects the abdominal and chest cavities, allowing you to remove everything as one unit.
Reach up into the chest cavity as far as you can. You'll feel the esophagus (the tube connecting throat to stomach) and the trachea (windpipe). Cut both as high up in the chest as you can reach. On large deer, you may need to extend your body cut up through the sternum to access these structures. A bone saw or heavy-duty shears make splitting the sternum easier.
Step 5: Remove the Organs
With the diaphragm freed and the esophagus/trachea cut, you can now remove the entire organ package. Starting from the top (chest cavity), begin pulling organs down and out. Gravity does most of the work if the deer is properly positioned.
Work your hands along both sides of the spine, cutting any connective tissue that holds organs to the body wall. The kidneys are attached along the backbone and may require specific cuts to free. The liver is large and attached to the diaphragm—it should come out with the other organs if you cut the diaphragm properly.
At the bottom end, the large intestine connects to the anus. If you've split the pelvis, cut around the anus from the outside, freeing it to pull through. If you haven't split the pelvis, reach in from the abdominal cavity, find the lower intestine, and carefully cut it free from the surrounding tissue. Tie it off with a zip tie or piece of string before cutting to prevent fecal contamination.
The entire organ package should come out as one connected mass. Set it aside.
Save the Heart and Liver
If you enjoy organ meat—and you should try it if you haven't—separate the heart and liver from the organ pile immediately. The heart is a dense, dark-red muscle about the size of your fist. The liver is the large, dark-brown organ attached to the underside of the diaphragm. Place both in zip-lock bags and keep them cool.
Deer heart sliced thin, lightly seasoned, and seared in butter is one of the finest wild game meals you'll ever eat. Don't waste it.
Step 6: Drain and Clean the Cavity
Roll the deer onto its side to drain blood and fluids from the body cavity. If water is available, rinse the interior to remove any remaining blood, hair, or debris. If water isn't available, use paper towels or dry grass to wipe the cavity as clean as possible.
If you accidentally punctured the stomach or intestines, prioritize cleaning the contaminated area thoroughly. Rinse with clean water, remove any visible digestive contents, and trim away any meat that contacted the contamination. A small puncture with quick cleanup causes minimal meat loss. A large puncture ignored for hours can ruin significant portions of meat.
Step 7: Cool the Carcass
Meat quality deteriorates rapidly when the carcass stays warm. Your goal is to get the internal temperature below 40°F as quickly as possible. In cold weather (below 40°F ambient temperature), prop the body cavity open with a stick to promote airflow. In warm weather, additional steps are critical.
Warm-Weather Cooling
When ambient temperatures exceed 50°F, you have roughly two to three hours before meat quality begins to degrade noticeably. Strategies for warm-weather field dressing:
- Get to shade immediately: Direct sunlight accelerates spoilage dramatically. Move the carcass to shade and prop the cavity open.
- Ice the cavity: If you can get ice (from a cooler in your vehicle), pack bags of ice inside the body cavity. This is the single most effective warm-weather preservation technique.
- Skin the deer promptly: The hide acts as insulation, trapping body heat. Removing the skin allows the carcass to cool faster. In warm weather, I skin deer in the field immediately after gutting.
- Consider quartering in the field: On warm days when you're far from your vehicle, quartering the deer and placing meat in game bags hung in shade with airflow cools the meat faster than trying to transport a whole carcass.
Cold-Weather Considerations
Cold weather is your ally for meat preservation, but beware of extremes. If temperatures drop below 20°F, the exterior of the carcass may freeze while the interior stays warm—creating an insulated pocket where bacteria can multiply. In very cold conditions, quarter the deer or at minimum split the pelvis and ribcage to allow cold air to penetrate throughout the carcass.
Step 8: Transport
Getting the deer from the field to processing is the final critical step. Keep the carcass as cool as possible and protect exposed meat from contamination.
Short Transport (Under 1 Hour)
Drag or cart the deer to your vehicle with the body cavity propped open. If using a truck bed, position the deer with the cavity open to airflow. Avoid stacking deer on top of each other—this traps heat between carcasses.
Long Transport (Over 1 Hour)
In warm weather, place bags of ice inside the body cavity and wrap the exterior in game bags to keep it clean. If possible, use an enclosed cooler or insulated game bag system. Avoid the temptation to cover the deer with a tarp in direct sunlight—this creates an oven.
Common Field Dressing Mistakes
Mistake 1: Rushing the Belly Cut
The most common mistake is cutting too deep on the initial belly incision and puncturing the stomach or intestines. Take your time. A field dressing that takes 20 minutes with clean cuts produces better meat than one done in 5 minutes with contamination that requires extensive trimming.
Mistake 2: Waiting Too Long
Some hunters want to take photos, call friends, or celebrate before field dressing. Congratulations are fine—take five minutes—but don't delay field dressing more than 30 minutes, especially in warm weather. The animal's body heat promotes bacterial growth from the moment the heart stops. Get the guts out and the carcass cooling.
Mistake 3: Leaving the Tarsal Glands Intact
The tarsal glands on a buck's hind legs produce a strong musky scent, especially during the rut. If you touch these glands and then touch meat, that musk flavor transfers. Either remove the tarsal glands entirely before handling the carcass, or avoid touching them throughout the process. If you do touch them, change your gloves before handling meat.
Mistake 4: Inadequate Cooling
Field dressing is not the end of the meat care process—it's the beginning. A gutted deer at 60°F is still spoiling. Get the carcass to a cooler, walk-in refrigerator, or cold ambient temperatures as soon as possible after field dressing.
Mistake 5: Not Removing Bloodshot Meat
Tissue around the wound channel will be bloodshot—dark red or purple, with a bruised texture. This meat tastes terrible regardless of how you cook it. Trim away all bloodshot tissue during field dressing or processing. It looks like waste, but leaving it on the carcass only taints the good meat around it.
Special Situations
Gut-Shot Deer
If your shot hit the stomach or intestines, you already know it—the smell is unmistakable when you open the abdominal cavity. Don't panic. Carefully remove the ruptured organs without spreading the contents further. Rinse the body cavity thoroughly with clean water. Trim any meat that contacted digestive contents. The backstraps, tenderloins, and most of the hind quarters are typically salvageable even from a gut-shot deer if you clean the cavity promptly and thoroughly.
Field Dressing in the Dark
Many deer are recovered after sunset. A quality headlamp makes this manageable. Ensure your headlamp has a bright white mode for working and a red mode for general movement. Position your headlamp so it illuminates the body cavity directly. Having a hunting partner hold a second light is ideal. Work slowly and methodically—rushing in the dark leads to the cutting mistakes described above.
Solo Dressing of Large Deer
A 200+ pound buck is physically challenging to field dress alone. Use a tree or vehicle to elevate the hindquarters, which keeps the deer on its back and lets gravity assist organ removal. If you can find a sturdy branch 6-8 feet off the ground, hang the deer by the hind legs for the easiest possible field dressing—gravity does 80% of the work.
After Field Dressing: Aging and Processing
Properly field-dressed deer benefit enormously from aging—hanging in a temperature-controlled environment (34-38°F) for 5-14 days. Aging allows natural enzymes to break down muscle fibers, dramatically improving tenderness and flavor. If you don't have access to a walk-in cooler, many butcher shops and deer processors offer aging services.
Whether you process the deer yourself or use a professional, the quality of the final product starts in the field. Clean, quick field dressing followed by rapid cooling is the foundation of great venison. Every step you take from the moment of the kill to the moment the meat is frozen or cooked either preserves or degrades quality. Take pride in this process—it honors the animal and rewards you with exceptional table fare.
Recommended Field Dressing Tools
Check Price on Amazon →
Check Price on Amazon →
Check Price on Amazon →
Check Price on Amazon →
Get More Gear Guides
Join 10,000+ hunters and get our free Ultimate Gear Checklist plus weekly reviews delivered to your inbox.
Share this guide:
Related Articles
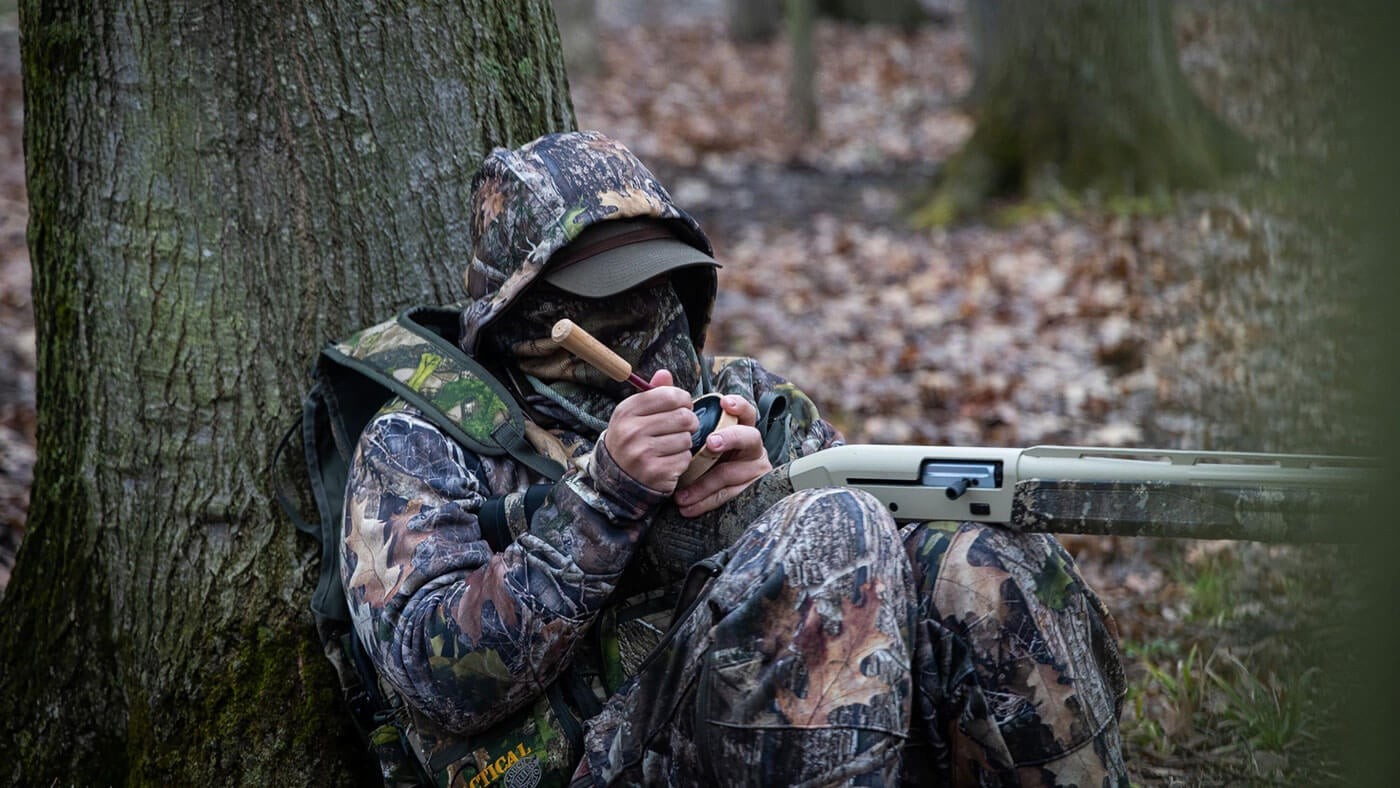
How to Call Turkeys: Complete Guide for Spring Season
Turkey calling is both art and science. Master the essential calls—yelps, clucks, purrs, and cuts—with this comprehensive guide covering call types, techniques, and real-world hunting strategies for spring gobblers.
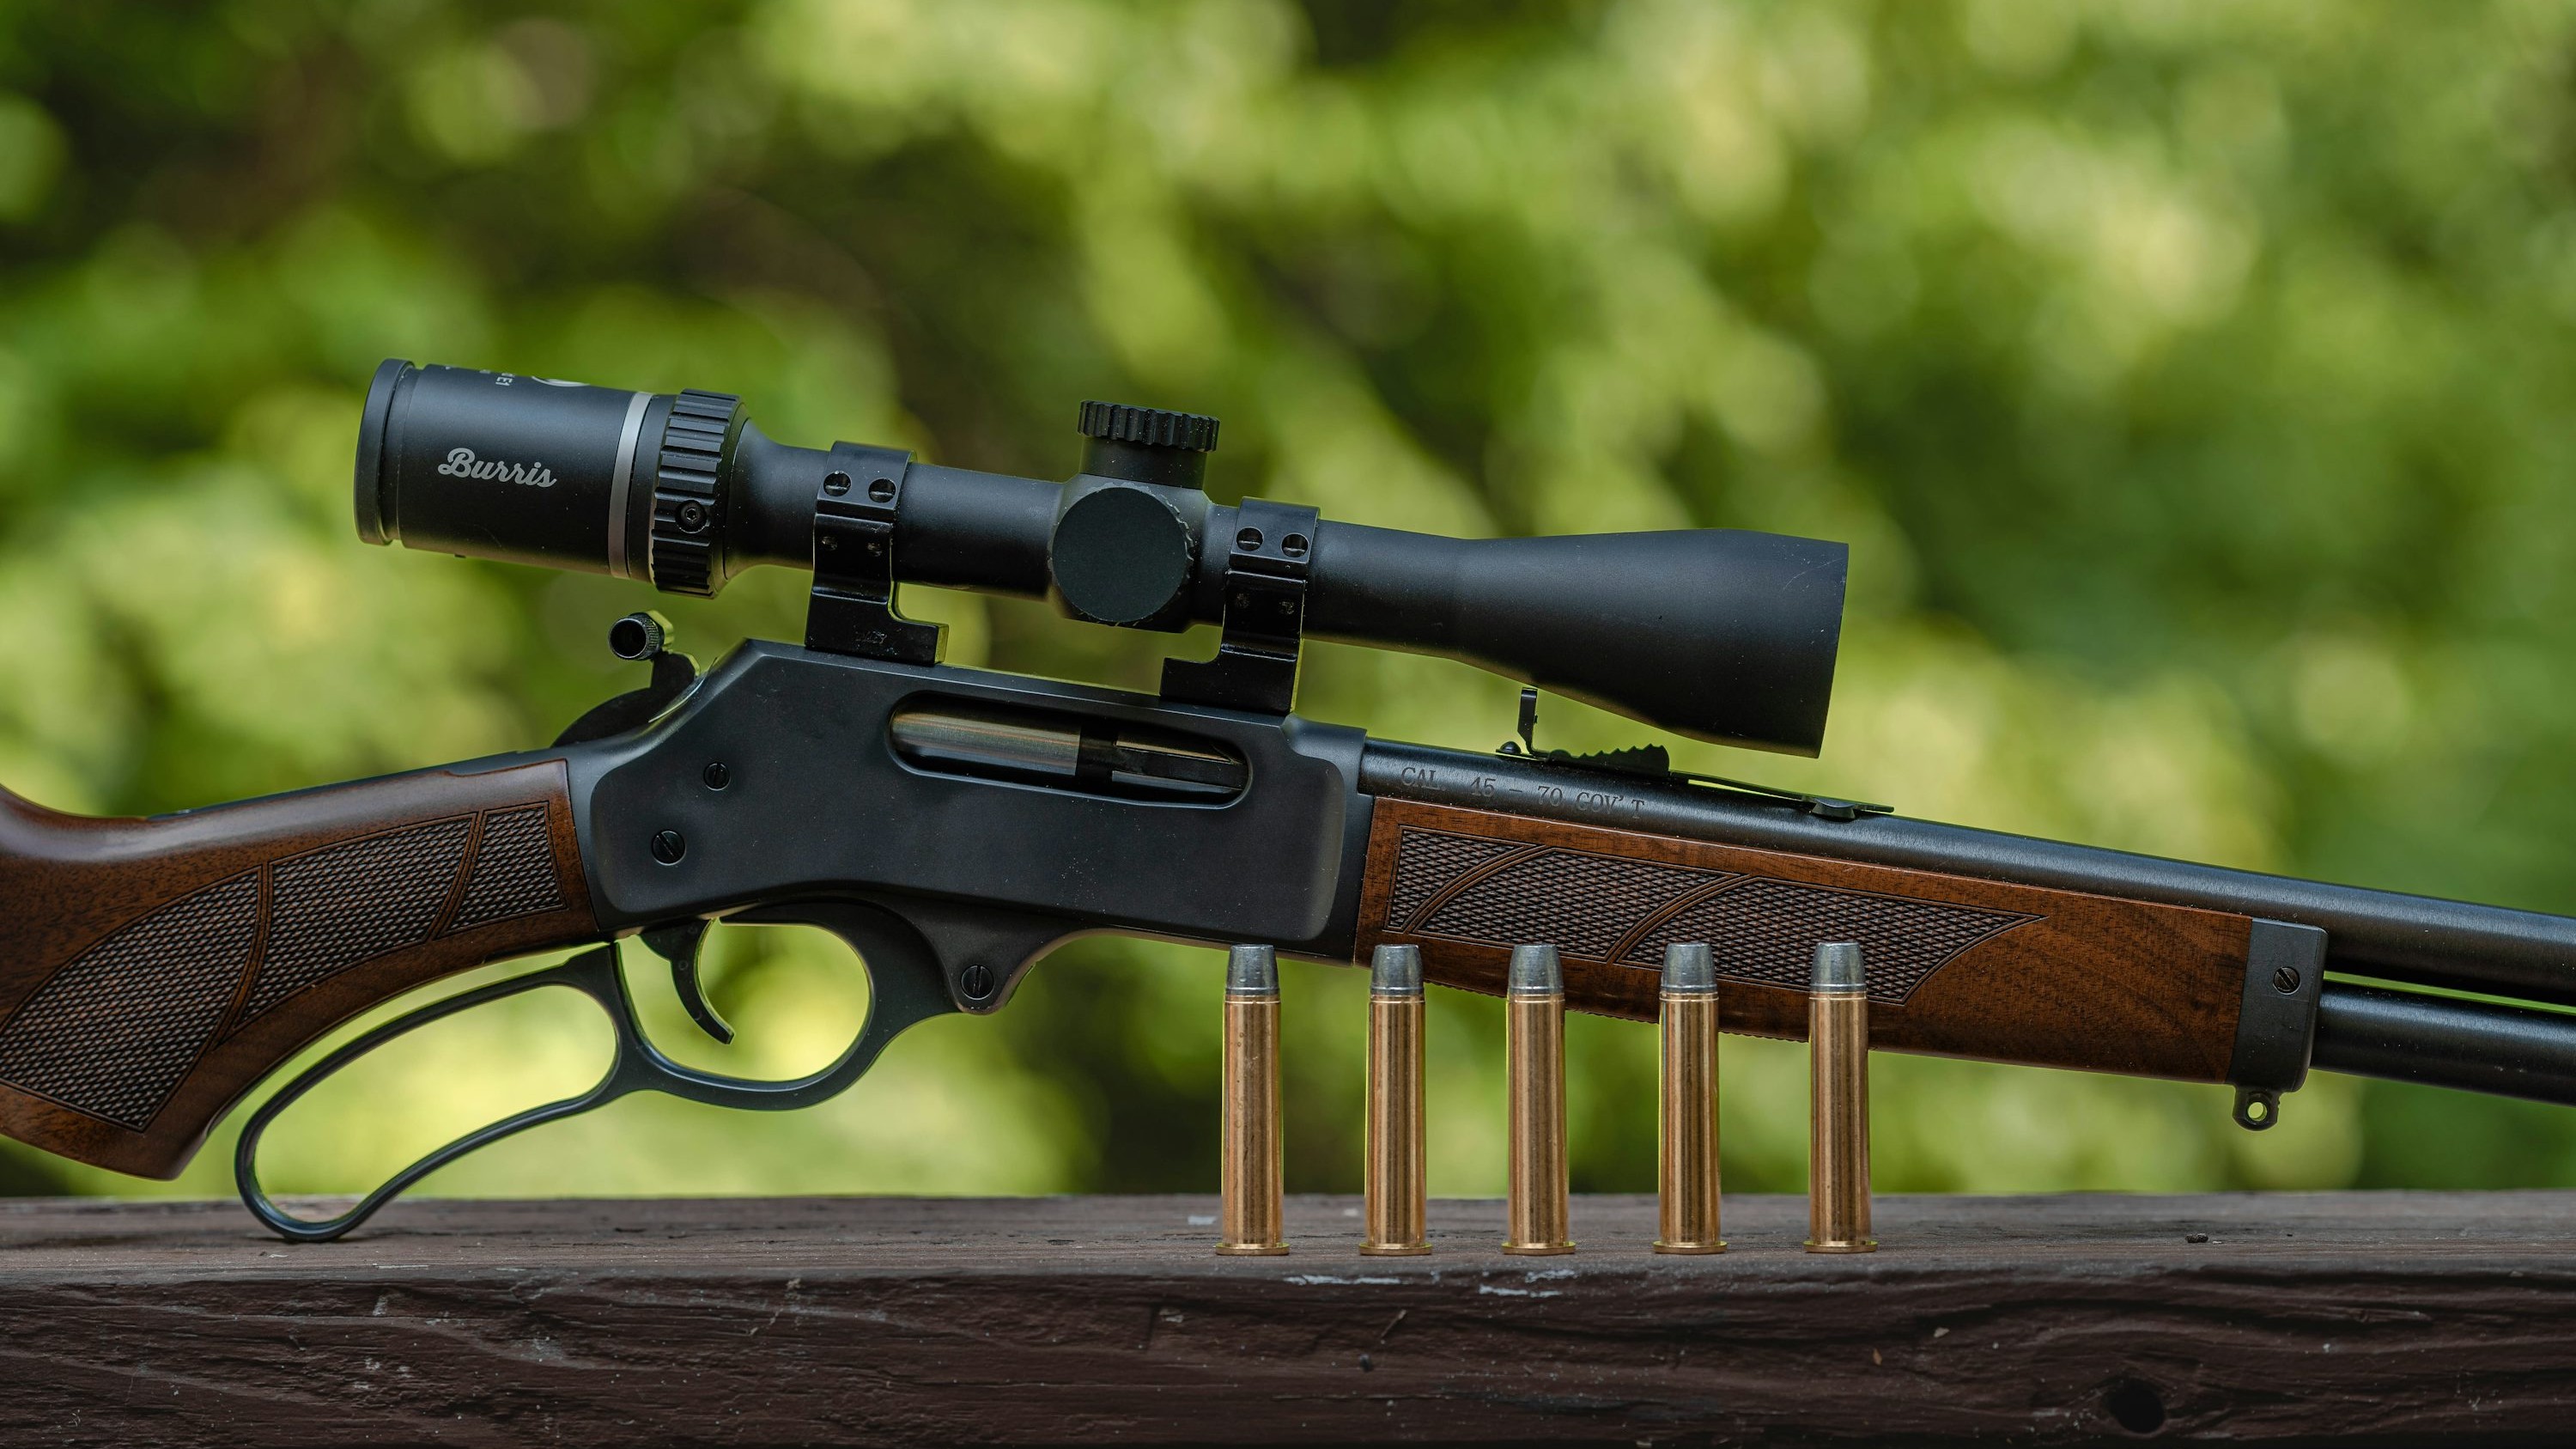
How to Zero a Rifle Scope: Step-by-Step Guide
A perfectly zeroed rifle scope is the foundation of every ethical shot. This step-by-step guide covers bore sighting, the box test, and field verification so you never miss because of bad zero.
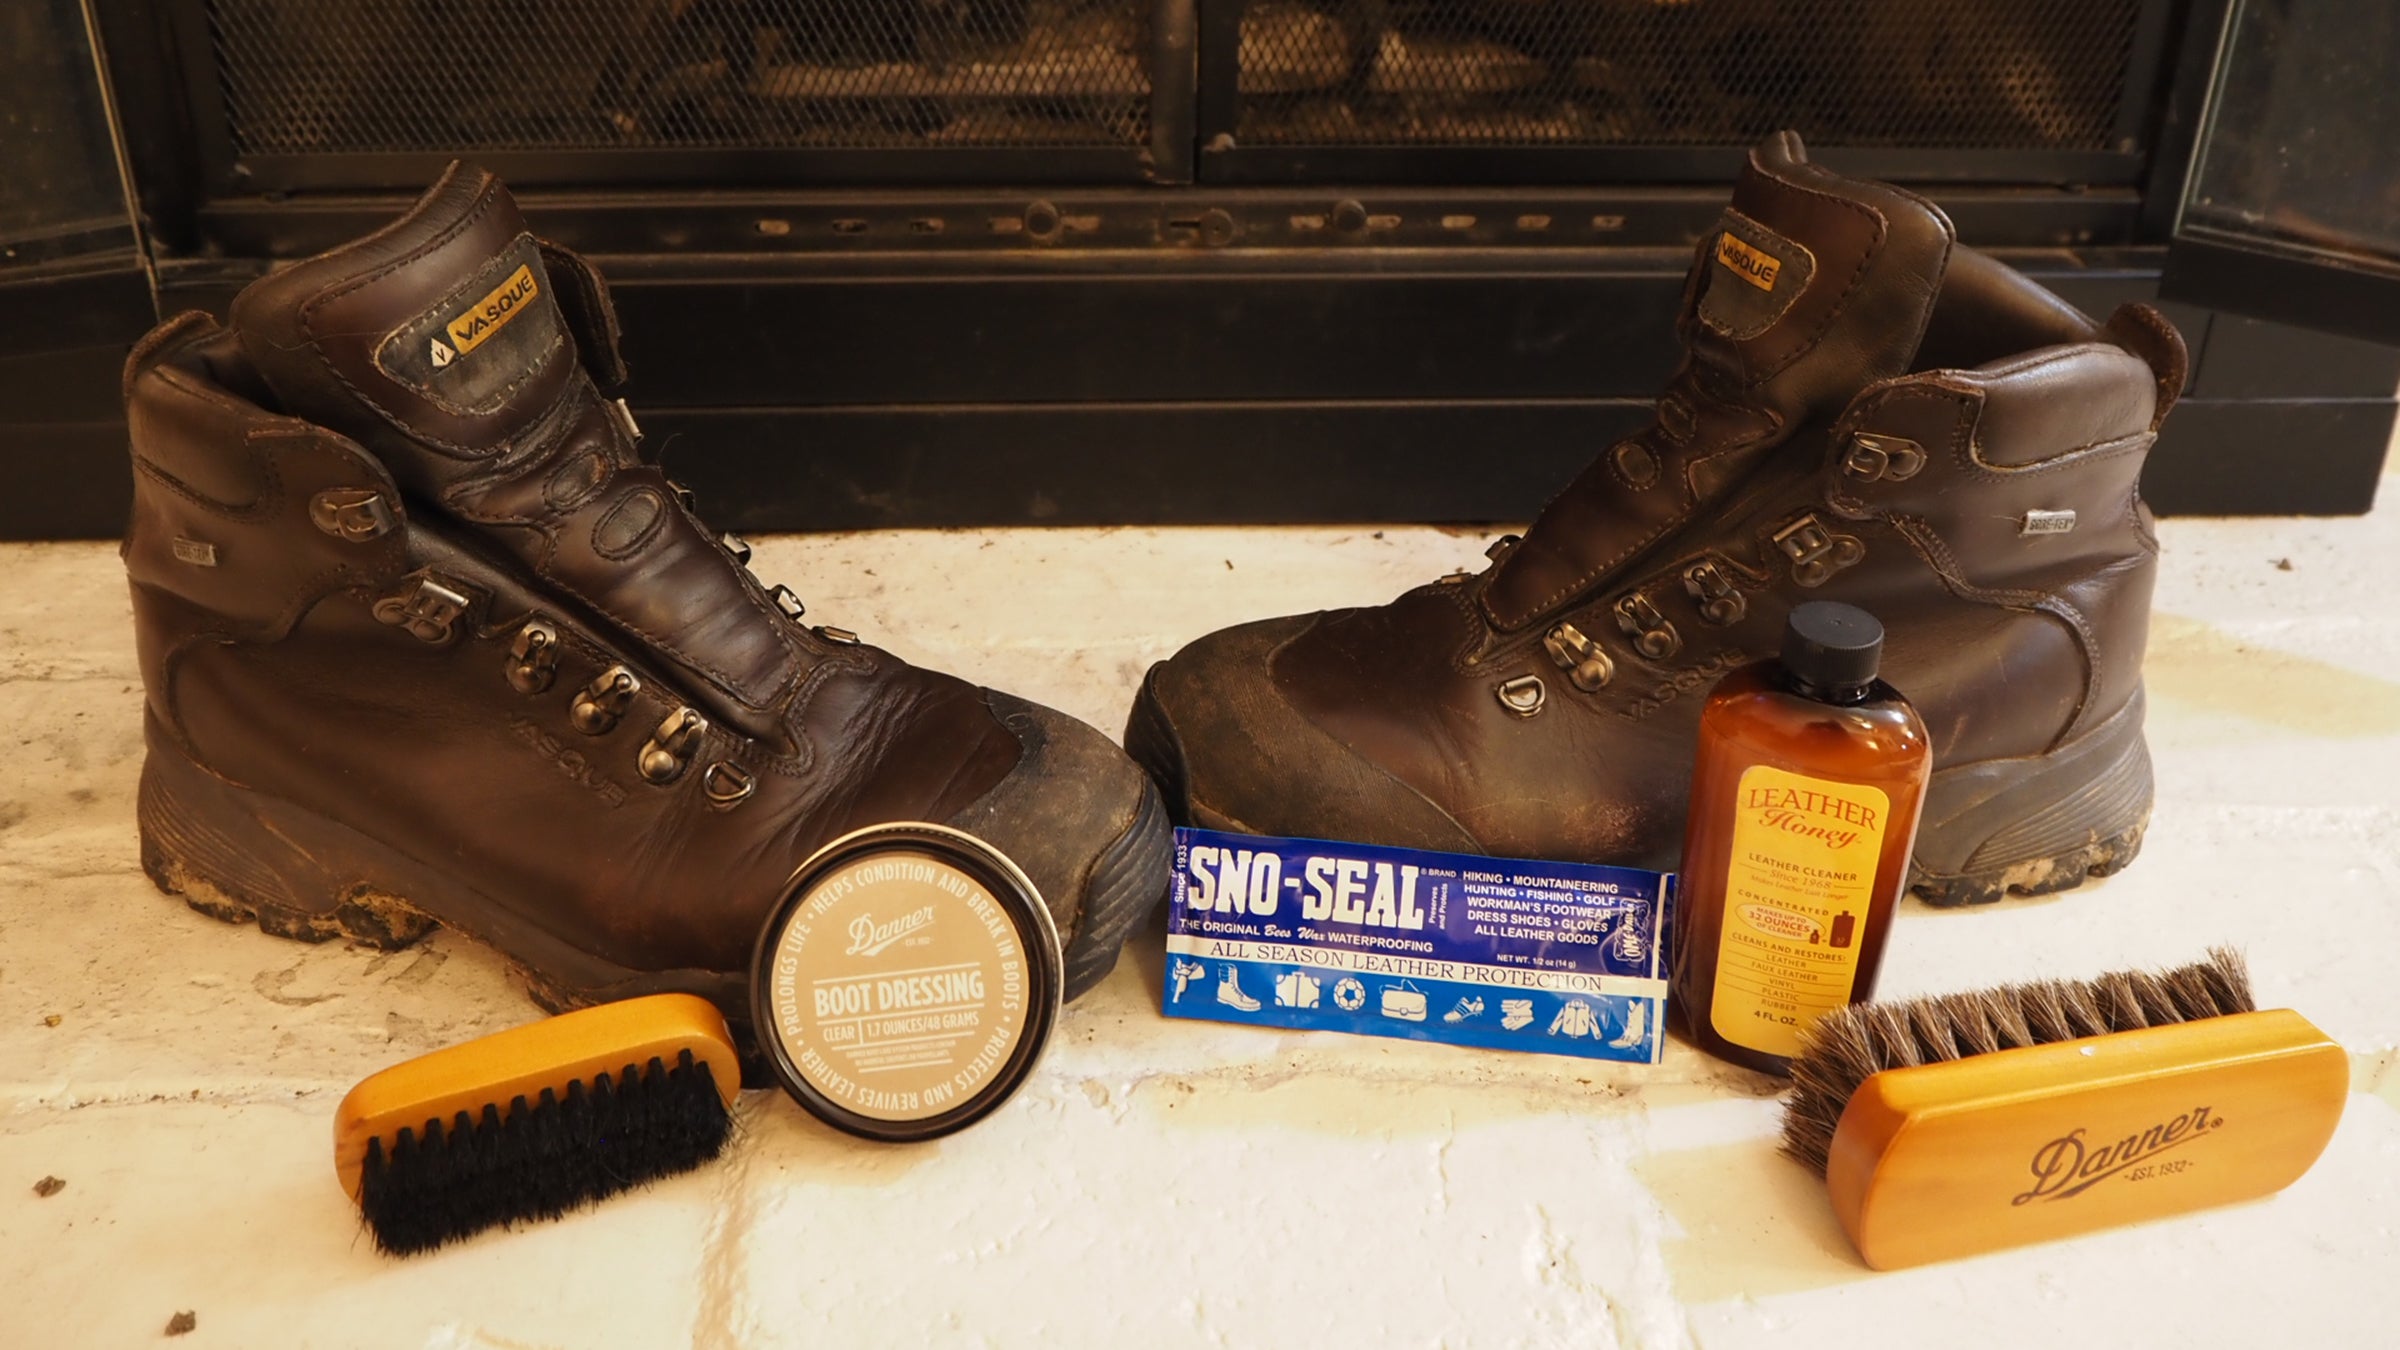
How to Clean and Maintain Hunting Boots: Complete Guide
Proper boot maintenance can double the lifespan of quality boots. Here's the complete guide to cleaning, conditioning, waterproofing, and storing your hunting boots.