How to Zero a Rifle Scope: Step-by-Step Guide
Affiliate Disclosure: This article contains affiliate links. If you purchase through these links, we may earn a commission at no extra cost to you. This helps support our site and allows us to continue creating in-depth gear reviews. Our recommendations are based on independent testing and research.
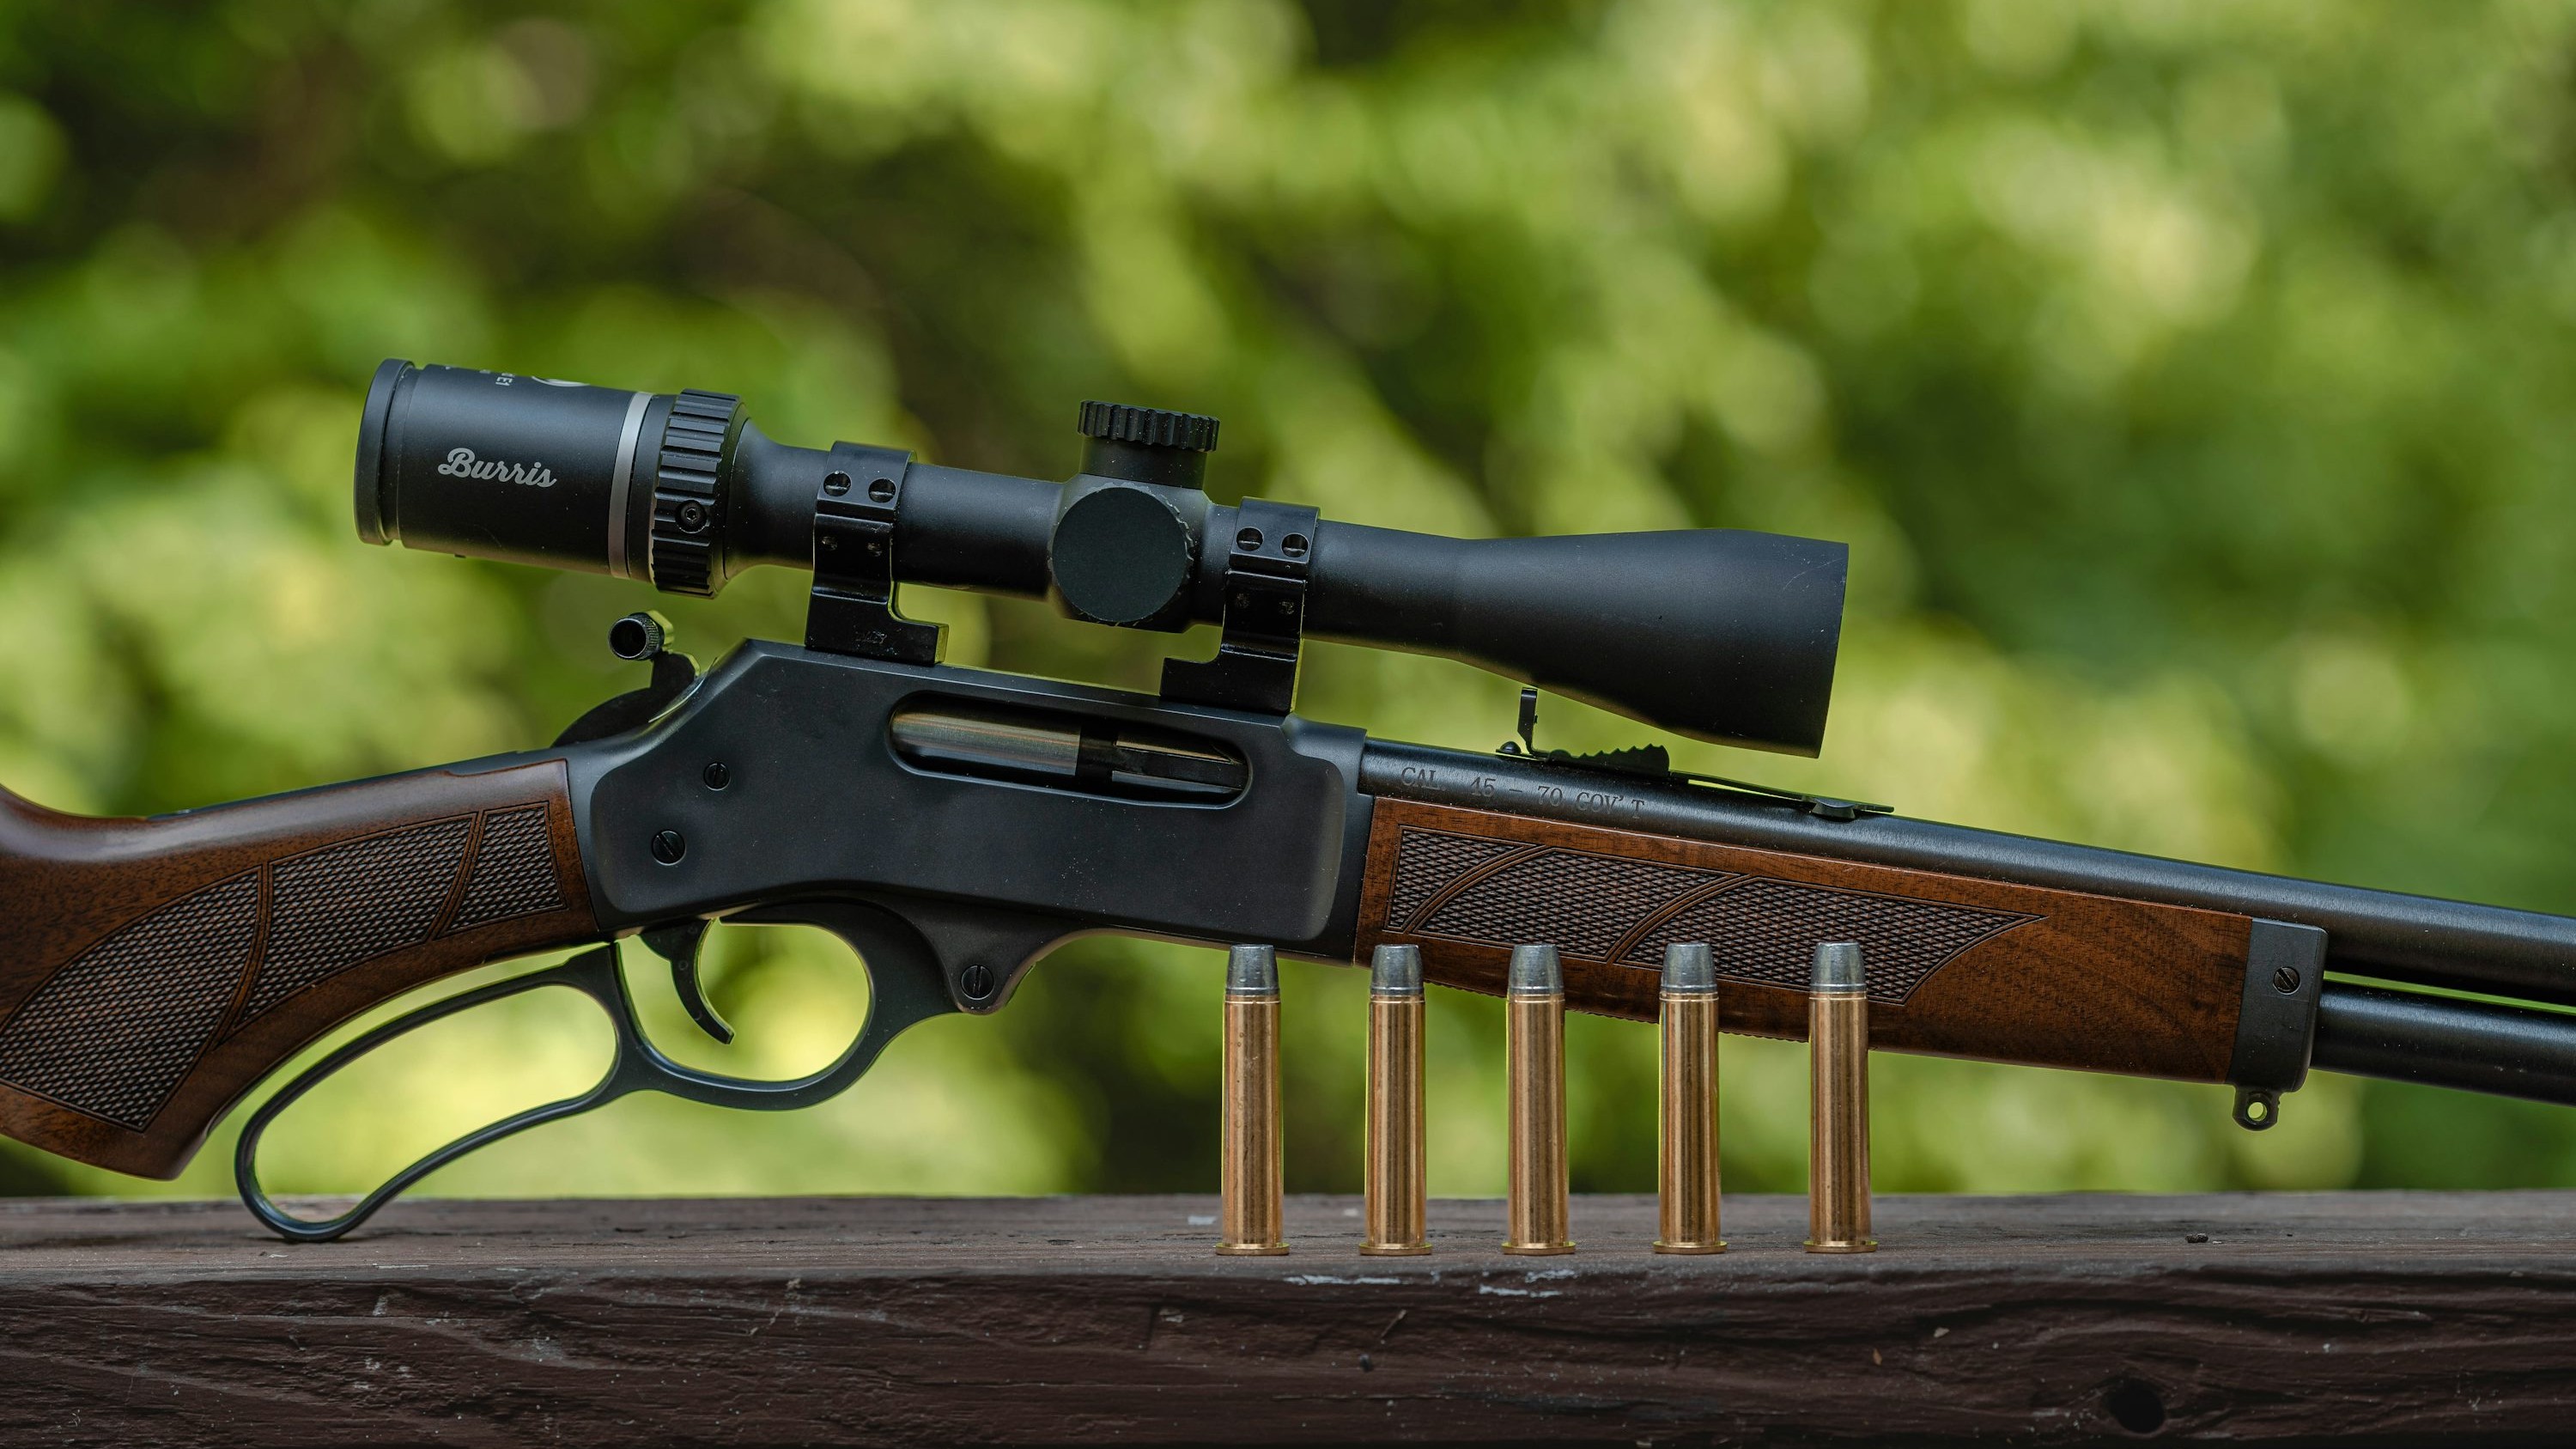
An improperly zeroed rifle scope is the most common reason hunters miss shots. It doesn't matter how expensive your rifle is or how steady your rest is — if your scope isn't precisely zeroed, you're throwing bullets. After sighting in hundreds of rifles over 52 years, here's the complete process for zeroing your scope correctly, efficiently, and with minimal wasted ammunition.
What Does "Zeroing" Actually Mean?
Zeroing a scope means adjusting the reticle (crosshair) so that the point of aim corresponds to the point of impact at a specific distance. When your scope is zeroed at 100 yards, and you place the crosshair on a target at 100 yards, the bullet should strike that exact point. Beyond and below that distance, you compensate for bullet drop using holdover or turret adjustments based on your ballistic data.
The zero distance you choose depends on your hunting style and cartridge. For most hunting situations:
- 100 yards: The standard zero for eastern deer hunting. Simple, easy to confirm, adequate for shots to 200 yards with modest holdover.
- 200 yards: Popular for western hunting where shots average longer. A 200-yard zero keeps you within 2 inches of point of aim from 50 to approximately 250 yards with most common cartridges.
- Maximum Point Blank Range (MPBR): Calculated for your specific cartridge to keep the bullet within a defined "kill zone" (usually 6-8 inches) from muzzle to the maximum distance without holdover. Requires ballistic calculation but eliminates guesswork for most hunting shots.
Before You Start: Mounting the Scope
Zeroing assumes your scope is properly mounted. If your scope mount is loose or misaligned, no amount of zeroing will produce consistent results. Before heading to the range, verify:
- Ring screws are torqued correctly: Use a torque wrench set to the manufacturer's specification (typically 15-25 inch-pounds for ring screws). Over-tightening can crack the scope tube or warp the ring, causing internal damage that affects tracking.
- Base screws are tight: Check the screws attaching the scope base to the receiver. These should also be torqued to specification and ideally secured with blue (removable) Loctite.
- Eye relief is correct: With the rifle shouldered in your natural shooting position, you should see a full, clear circle through the scope with no shadow or dark crescent around the edges. Adjust the scope forward or backward in the rings until the image is clean.
- Reticle is level: A canted reticle introduces horizontal error at distance. Use a scope leveling kit or a plumb bob to ensure the vertical crosshair is truly vertical when the rifle is level.
Step-by-Step Zeroing Process
Step 1: Bore Sight First
Bore sighting gets you on paper before firing a single round. This saves ammunition and frustration. There are two methods:
Laser Bore Sighter ($20-40)
Insert the laser bore sighter into your chamber or muzzle. The laser projects a dot onto your target. Adjust the scope turrets until the reticle aligns with the laser dot. This typically gets you within 3-6 inches at 100 yards — close enough to see where your first shot hits on a large target.
Visual Bore Sighting (Free)
Remove the bolt from a bolt-action rifle. Look through the bore from the breech end and center the target in the bore. Without moving the rifle, look through the scope and adjust the turrets until the crosshair is on the same point the bore is centered on. This method is free, requires no equipment, but is less precise than a laser bore sighter. It works well enough to get you on paper.
Step 2: Set Up at 25 Yards First
Many hunters start zeroing at 100 yards. This is inefficient. If your bore sight is off by several inches, your first shots at 100 yards might miss the target entirely, and you'll waste ammunition and time trying to find your impact point.
Start at 25 yards. At this distance, even a rough bore sight will put you on a standard target. Fire three shots and note the group's center relative to your aim point. Adjust the scope turrets to move the point of impact to match your point of aim. Each click on a standard 1/4-MOA scope moves the impact about 0.07 inches at 25 yards — but don't get lost in the math. Just move the crosshair toward the bullet holes.
Remember the fundamental rule: move the crosshair toward the bullet holes. If your shots are hitting low and right of the crosshair, adjust the turrets to move the crosshair down and right (which moves the point of impact up and left). Modern scopes label this with arrows on the turrets — "UP" moves the impact up, "R" moves it right.
Step 3: Move to 100 Yards
Once you're centered at 25 yards, move to 100 yards. Fire a three-shot group using your best shooting technique (solid rest, controlled breathing, clean trigger press). The group should be close to your aim point — usually within 4-6 inches if the 25-yard zero was accurate.
Now make your precision adjustments. For a standard 1/4-MOA scope at 100 yards, each click moves the point of impact approximately 0.26 inches (roughly 1/4 inch). If your group center is 3 inches high and 2 inches right, you need approximately 12 clicks down and 8 clicks left.
Fire another three-shot group to verify. If the group is centered on your aim point, fire two more three-shot groups to confirm consistency. Confirmation is critical — a single group can be influenced by a single bad shot. Three groups at the same point of impact confirm your zero is real.
Step 4: Fine-Tune for Your Hunting Zero
If your desired zero is 200 yards rather than 100, you have two options:
- Zero at 200 yards: Move to a 200-yard target and repeat the process. This is the most accurate method but requires access to a 200-yard range.
- Calculate the 100-yard offset: Use a ballistic calculator (Hornady's free 4DOF calculator is excellent) to determine where your bullet impacts at 100 yards when zeroed at 200. For most hunting cartridges, this is approximately 1.5-2.5 inches high at 100 yards. Adjust your 100-yard zero to impact this amount high.
Common Zeroing Mistakes
1. Shooting Without a Solid Rest
Your rifle must be rock-solid during zeroing. Any human wobble introduces error that you'll mistakenly attribute to the scope. Use a front rest (sandbags, Lead Sled, or bipod) and a rear bag. The goal is to remove YOU from the equation so you're testing the rifle and scope, not your shooting ability.
2. Chasing Single Shots
Never adjust your scope based on a single shot. Individual shots vary due to ammunition inconsistency, tiny variations in technique, and environmental factors. Always adjust based on the center of a three-shot group. This averages out random variation and gives you a true representation of your rifle's zero.
3. Ignoring Barrel Heat
A hot barrel shifts point of impact. Hunting rifles have thin barrels designed for one or two shots, not sustained fire. Between groups, let your barrel cool for 3-5 minutes. If you can comfortably hold the barrel, it's cool enough. If not, wait. Hot-barrel groups will be larger and may print in a different location than cold-barrel groups.
This also means you should be most interested in your first cold-bore shot, since that's what your hunting shot will be. After confirming your zero with three-shot groups, fire one cold-bore shot to verify that the first round from a cold barrel hits where you expect.
4. Not Confirming in Field Conditions
A bench-rest zero confirms your rifle shoots where you aim under ideal conditions. But you won't be shooting from a bench on opening morning. After establishing your bench zero, practice shooting from the positions you'll use in the field: sitting, kneeling, prone with a pack as a rest, or offhand if necessary. Your zero should hold from any position — if it doesn't, the issue is your technique, not the scope.
5. Forgetting to Re-Zero After Travel
Airlines, truck beds, and rough roads can shift your scope. If your rifle has traveled, verify your zero before hunting. This doesn't require a full zeroing session — fire three shots at your zero distance. If they group where expected, you're confirmed. If not, adjust. Five minutes at the range can save an entire hunting trip.
Understanding MOA vs. MIL Adjustments
Most hunting scopes use MOA (Minute of Angle) adjustments. One MOA equals approximately 1.047 inches at 100 yards (close enough to call it 1 inch for practical purposes). Standard hunting scopes adjust in 1/4 MOA clicks — each click moves impact approximately 1/4 inch at 100 yards, 1/2 inch at 200 yards, 3/4 inch at 300 yards, and so on.
MIL (Milliradian) adjustments are more common on tactical scopes and are gaining popularity for long-range hunting. One MIL equals 3.6 inches at 100 yards. Most MIL scopes adjust in 0.1 MIL clicks (0.36 inches at 100 yards). Both systems work equally well — the math is just different.
Recommended Zeroing Equipment
- Wheeler FAT Wrench ($35): Ensures consistent torque on scope mount screws. Prevents over-tightening and under-tightening.
- Caldwell Lead Sled ($100-200): The most stable shooting rest available. Absorbs recoil and eliminates human error from the zeroing process.
- Wheeler Scope Leveling Kit ($30): Ensures your reticle is perfectly level relative to the rifle. Prevents canting errors at distance.
- Laser Bore Sighter ($25-40): Gets you on paper before firing a single round. Saves ammunition and frustration.
- Hornady 4DOF Ballistic Calculator (Free): Calculates bullet trajectory for any cartridge, allowing you to determine holdovers and confirm zero calculations at any distance.
The Bottom Line
Zeroing a rifle scope is not complicated, but it requires patience and a methodical approach. Start close (25 yards), move out (100 yards), confirm with multiple groups, and verify from field positions. A properly zeroed scope, combined with practice from realistic field positions, ensures that when the moment arrives, your shot goes exactly where you intend.
Common Zeroing Mistakes and How to Fix Them
Even experienced shooters make zeroing errors that compromise accuracy in the field. Here are the most frequent mistakes and their solutions:
- Shooting with a cold barrel: Your first shot from a cold barrel may impact differently than subsequent shots from a warm barrel. For hunting purposes, your cold-bore shot is the one that matters. Fire one cold-bore shot, wait 5 minutes for the barrel to cool completely, then fire another. Zero to your cold-bore group, not your warm-barrel group.
- Torque on scope mounts: Inconsistent or improper torque on scope ring screws is the leading cause of zero shifts. Use a torque wrench (Wheeler FAT Wrench, $35) and follow the manufacturer's torque specifications exactly. Over-tightening can crack scope tubes; under-tightening allows the scope to shift under recoil.
- Shooting from an unstable rest: Sandbags that shift, improvised rests, or shooting off a hood of a truck introduce variables that mask your rifle's true accuracy. A solid lead sled or front-and-rear sandbag system eliminates shooter-induced error from the zeroing equation.
- Not accounting for altitude and temperature: If you zero at sea level in 80°F heat, your bullet will impact differently in 30°F mountain air at 8,000 feet. For hunts at significantly different altitude or temperature than your zeroing conditions, use a ballistic calculator to predict the shift and verify with field shooting at your destination.
- Dirty bore: A fouled bore shoots differently than a clean bore. Before zeroing, fire 2-3 fouling shots through a clean barrel to establish consistent copper fouling. Then zero to the fouled bore, which is how you'll actually be shooting in the field.
- Rushing the process: Let the barrel cool between 3-shot groups. Shoot from a stable rest. Take your time. A 20-round zeroing session spread over 45 minutes produces dramatically better results than burning through 20 rounds in 10 minutes.
After 52 years, I still verify my zero before every hunting season and after every significant trip. The 20 rounds and 30 minutes this costs is the cheapest insurance you can buy for a successful hunt. Don't shortcut this step — your confidence at the moment of truth depends on it. A verified zero is the foundation every accurate shot is built upon, and the peace of mind it provides is absolutely priceless when that trophy buck finally steps out.
Recommended Scope Zeroing Gear
Check Price on Amazon →
Check Price on Amazon →
Check Price on Amazon →
Get More Gear Guides
Join 10,000+ hunters and get our free Ultimate Gear Checklist plus weekly reviews delivered to your inbox.
Share this guide:
Related Articles
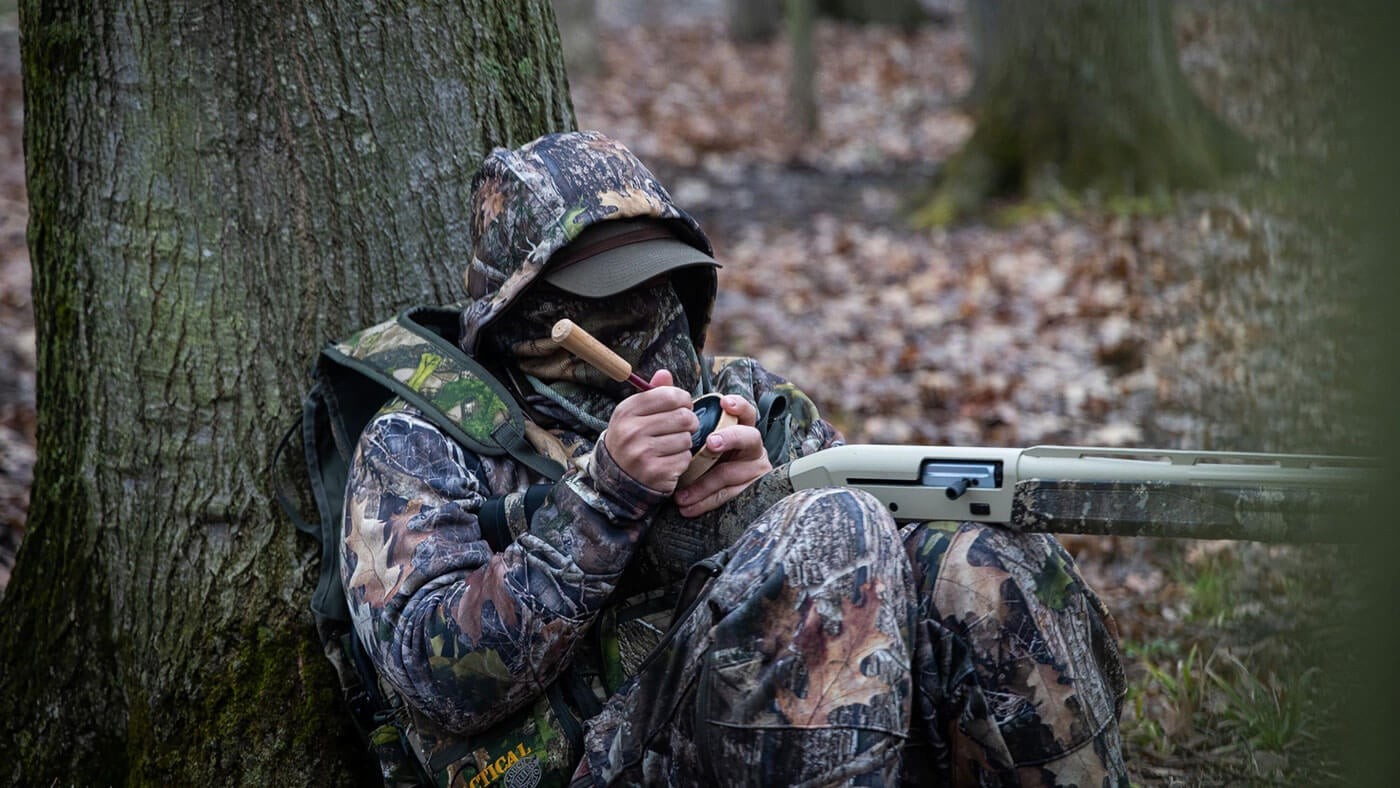
How to Call Turkeys: Complete Guide for Spring Season
Turkey calling is both art and science. Master the essential calls—yelps, clucks, purrs, and cuts—with this comprehensive guide covering call types, techniques, and real-world hunting strategies for spring gobblers.
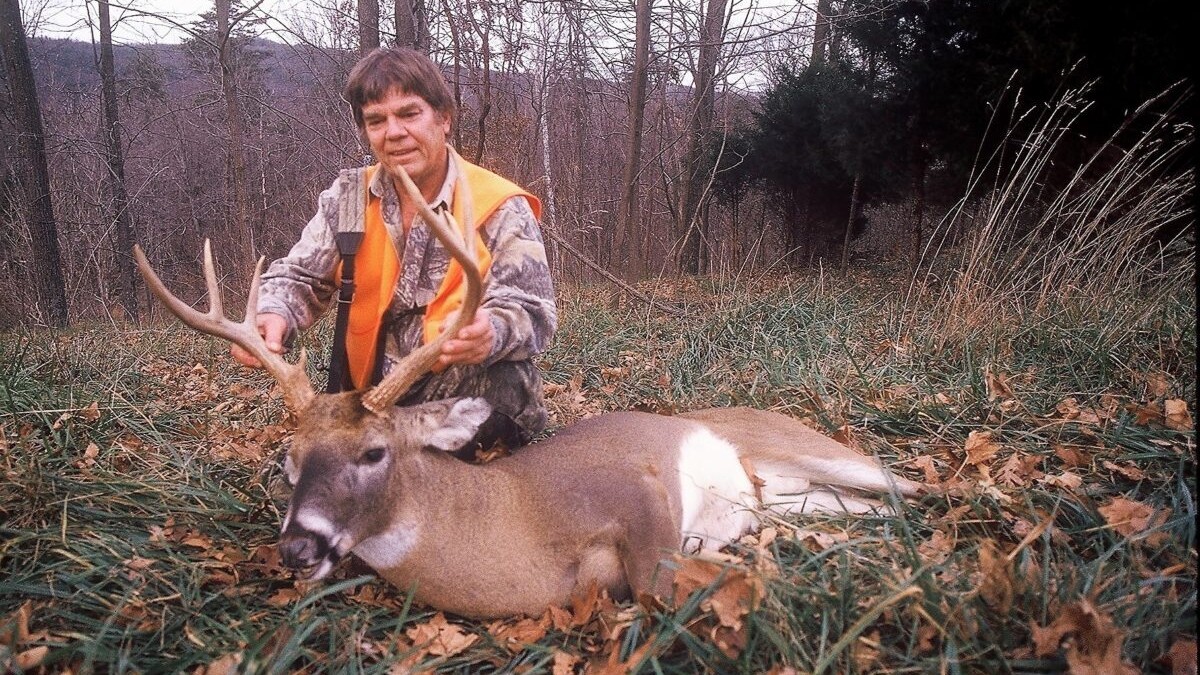
How to Field Dress a Deer: Step-by-Step Guide
Proper field dressing preserves meat quality and makes processing easier. This step-by-step guide covers everything from first cuts to cooling, with tips from five decades of deer processing experience.
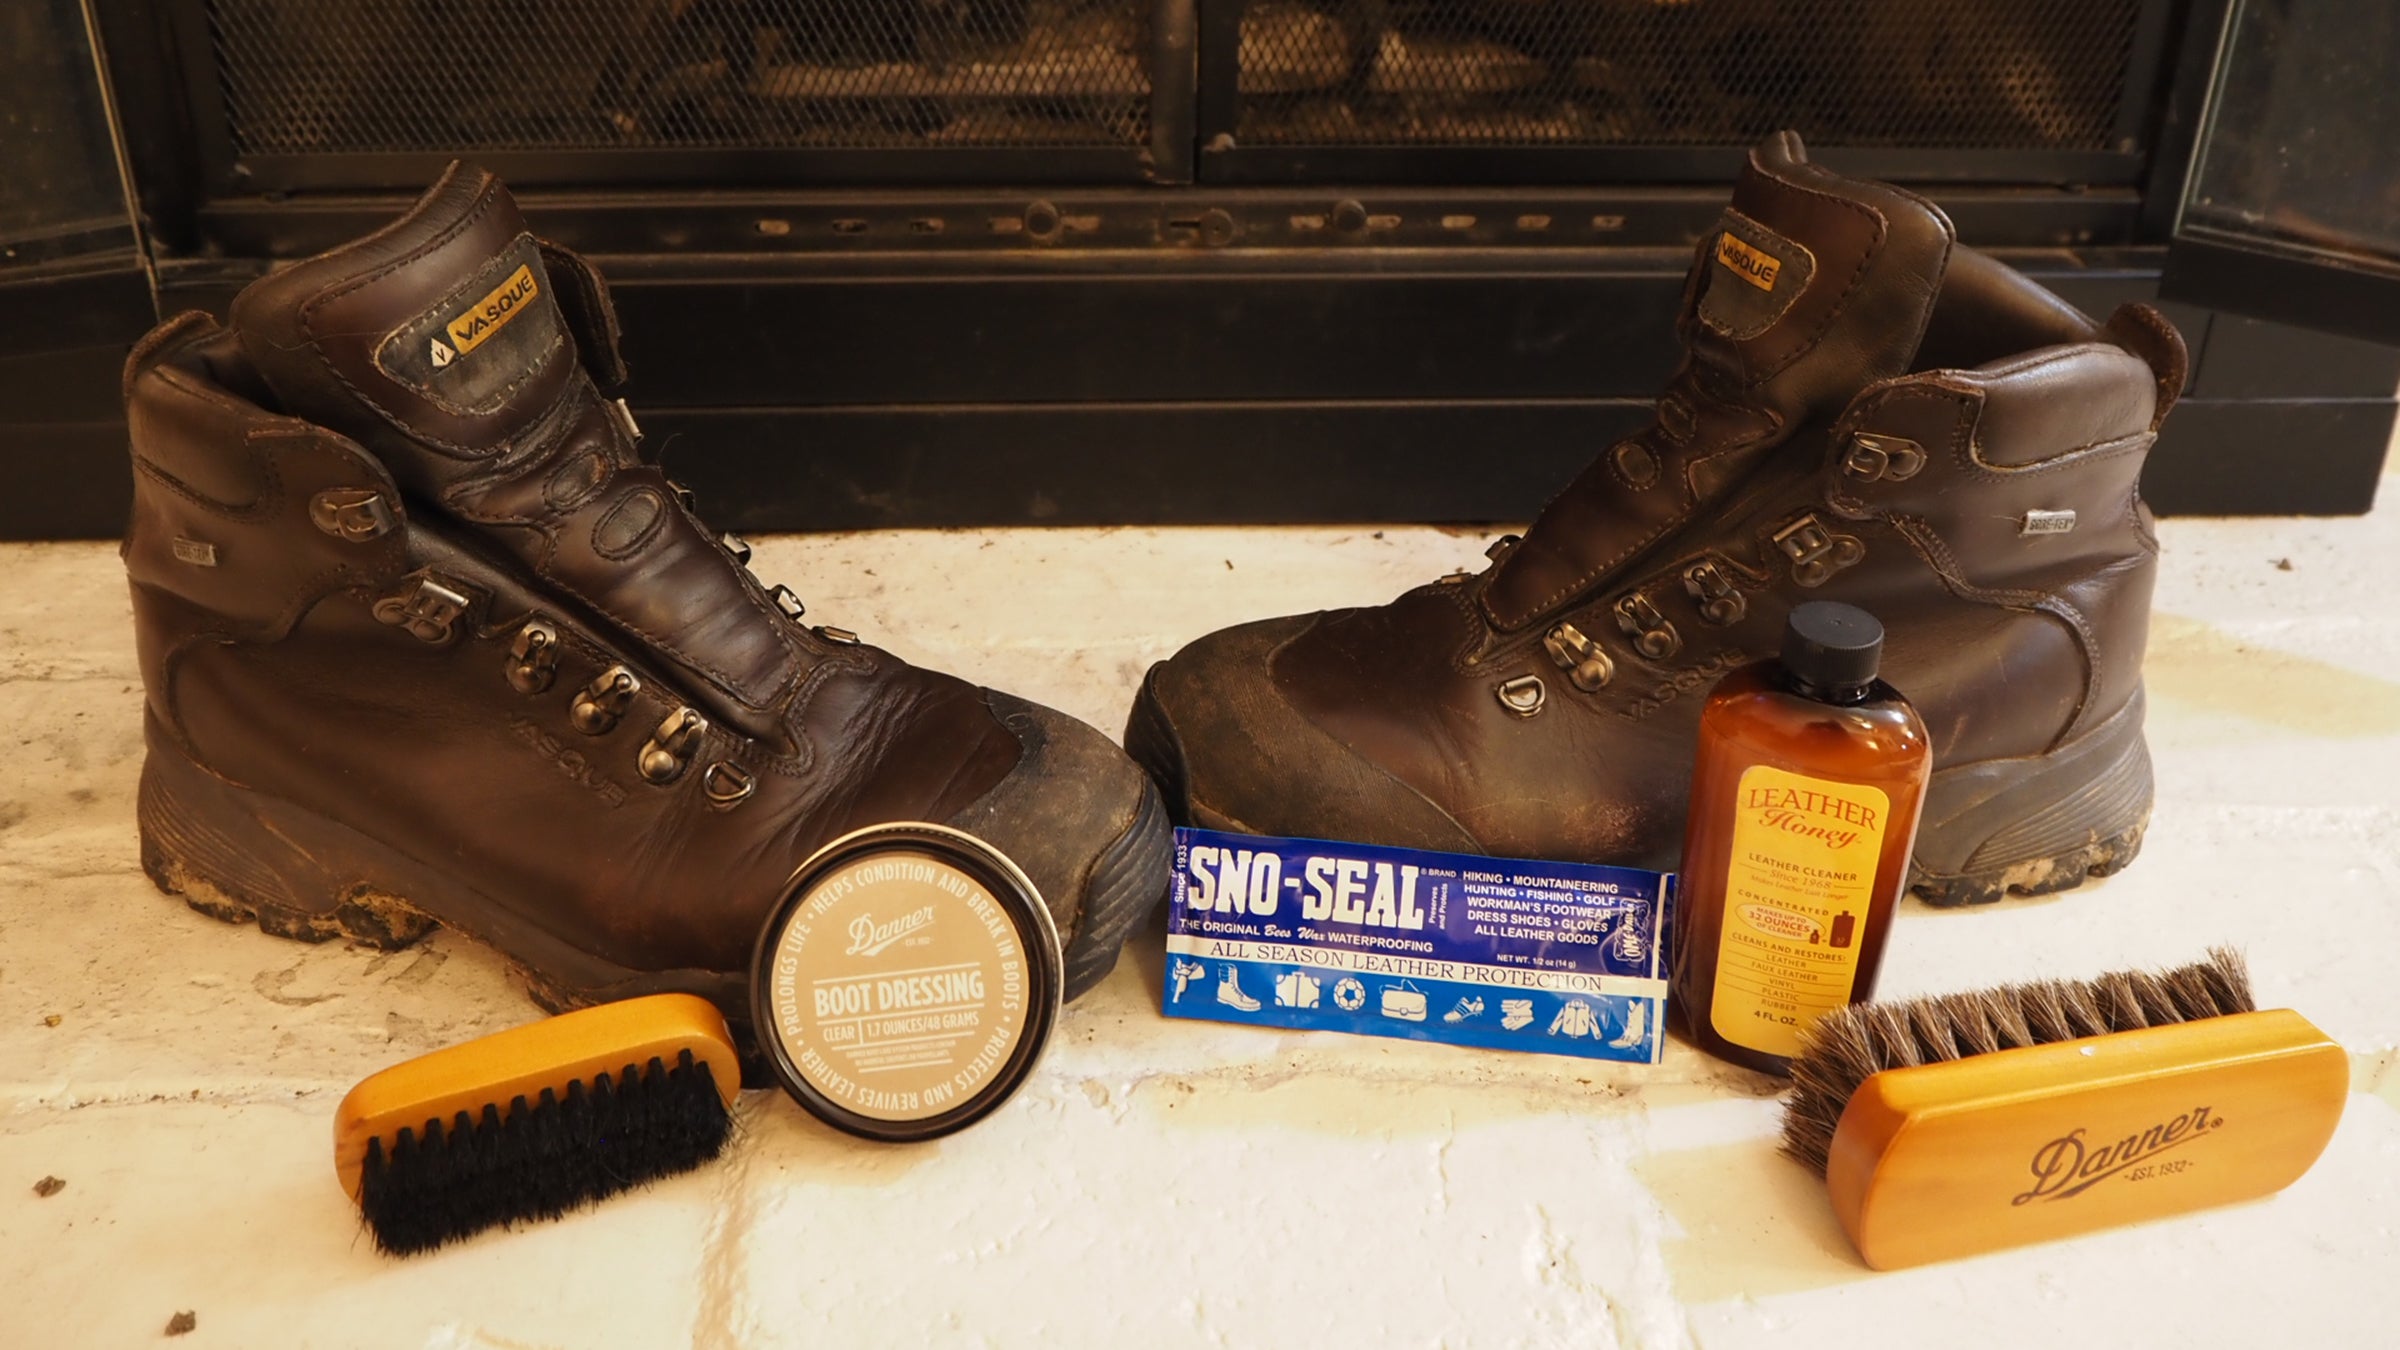
How to Clean and Maintain Hunting Boots: Complete Guide
Proper boot maintenance can double the lifespan of quality boots. Here's the complete guide to cleaning, conditioning, waterproofing, and storing your hunting boots.